踏入山门
1. 概念
Spring Security 是 Spring 家族中的一个安全管理框架,相比于另外一个安全框架 Shiro,Spring Security 提供了更丰富的功能,社区资源也更丰富。
一般来说,中大型的项目使用 Spring Security 来做安全框架,小项目用 Shiro 的比较多,因为相比于 SpringSecurity,Shiro 的上手更加简单。
一般 Web 应用需要进行认证和授权:
- 认证:验收当前访问系统的人是不是本系统的用户,并且要确定具体是哪个用户
- 授权:经过谁后判断当前用户是否有权限进行某个操作
认证和授权也是 SpringSecurity 作为安全框架的核心功能。
2. 使用上手
2.1 普通的 Spring Boot Web 项目
maven 依赖:
<?xml version="1.0" encoding="UTF-8"?>
<project xmlns="http://maven.apache.org/POM/4.0.0"
         xmlns:xsi="http://www.w3.org/2001/XMLSchema-instance"
         xsi:schemaLocation="http://maven.apache.org/POM/4.0.0 https://maven.apache.org/xsd/maven-4.0.0.xsd">
    <modelVersion>4.0.0</modelVersion>
    <parent>
        <groupId>org.springframework.boot</groupId>
        <artifactId>spring-boot-starter-parent</artifactId>
        <version>2.7.8</version>
        <relativePath/> <!-- lookup parent from repository -->
    </parent>
    <groupId>com.chuan</groupId>
    <artifactId>play-spring-security</artifactId>
    <version>0.0.1-SNAPSHOT</version>
    <name>play-spring-security</name>
    <description>play-spring-security</description>
    <properties>
        <java.version>1.8</java.version>
    </properties>
    <dependencies>
        <dependency>
            <groupId>org.springframework.boot</groupId>
            <artifactId>spring-boot-starter-web</artifactId>
        </dependency>

        <dependency>
            <groupId>org.projectlombok</groupId>
            <artifactId>lombok</artifactId>
            <optional>true</optional>
        </dependency>
    </dependencies>

    <build>
        <plugins>
            <plugin>
                <groupId>org.springframework.boot</groupId>
                <artifactId>spring-boot-maven-plugin</artifactId>
                <configuration>
                    <excludes>
                        <exclude>
                            <groupId>org.projectlombok</groupId>
                            <artifactId>lombok</artifactId>
                        </exclude>
                    </excludes>
                </configuration>
            </plugin>
        </plugins>
    </build>

</project>
启动类:
@SpringBootApplication
public class PlaySpringSecurityApplication {
    public static void main(String[] args) {
        SpringApplication.run(PlaySpringSecurityApplication.class, args);
    }
}
写一个 controller:
@RequestMapping("/play/spring/security")
@RestController
public class HelloController {
@GetMapping("/hello")
public String sayHello() {
return "Hello, spring security!";
}
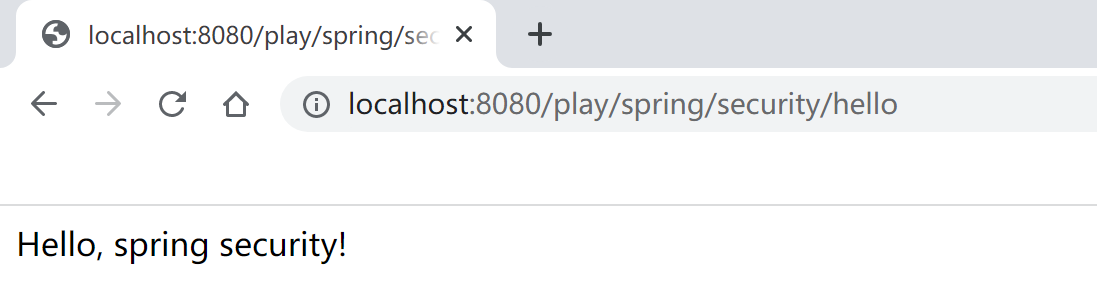
}此时,浏览器访问相应的 http://localhost:8080/play/spring/security/hello 接口,毫无疑问能够正常访问:
2.2 整合 Spring Security
在 Spring Boot 项目中整合 Spring Security,只需要在 maven 依赖中引入相应的 starter 即可,无需其他配置:
    <dependencies>
        <!-- ... -->
        <dependency>
            <groupId>org.springframework.boot</groupId>
            <artifactId>spring-boot-starter-security</artifactId>
            <version>2.7.8</version>
        </dependency>
        <!-- ... -->
    </dependencies>
一旦整合进来 Spring Security,你会发现当再次访问 http://localhost:8080/play/spring/security/hello 时,会自动跳转到一个 login 界面,如下图:
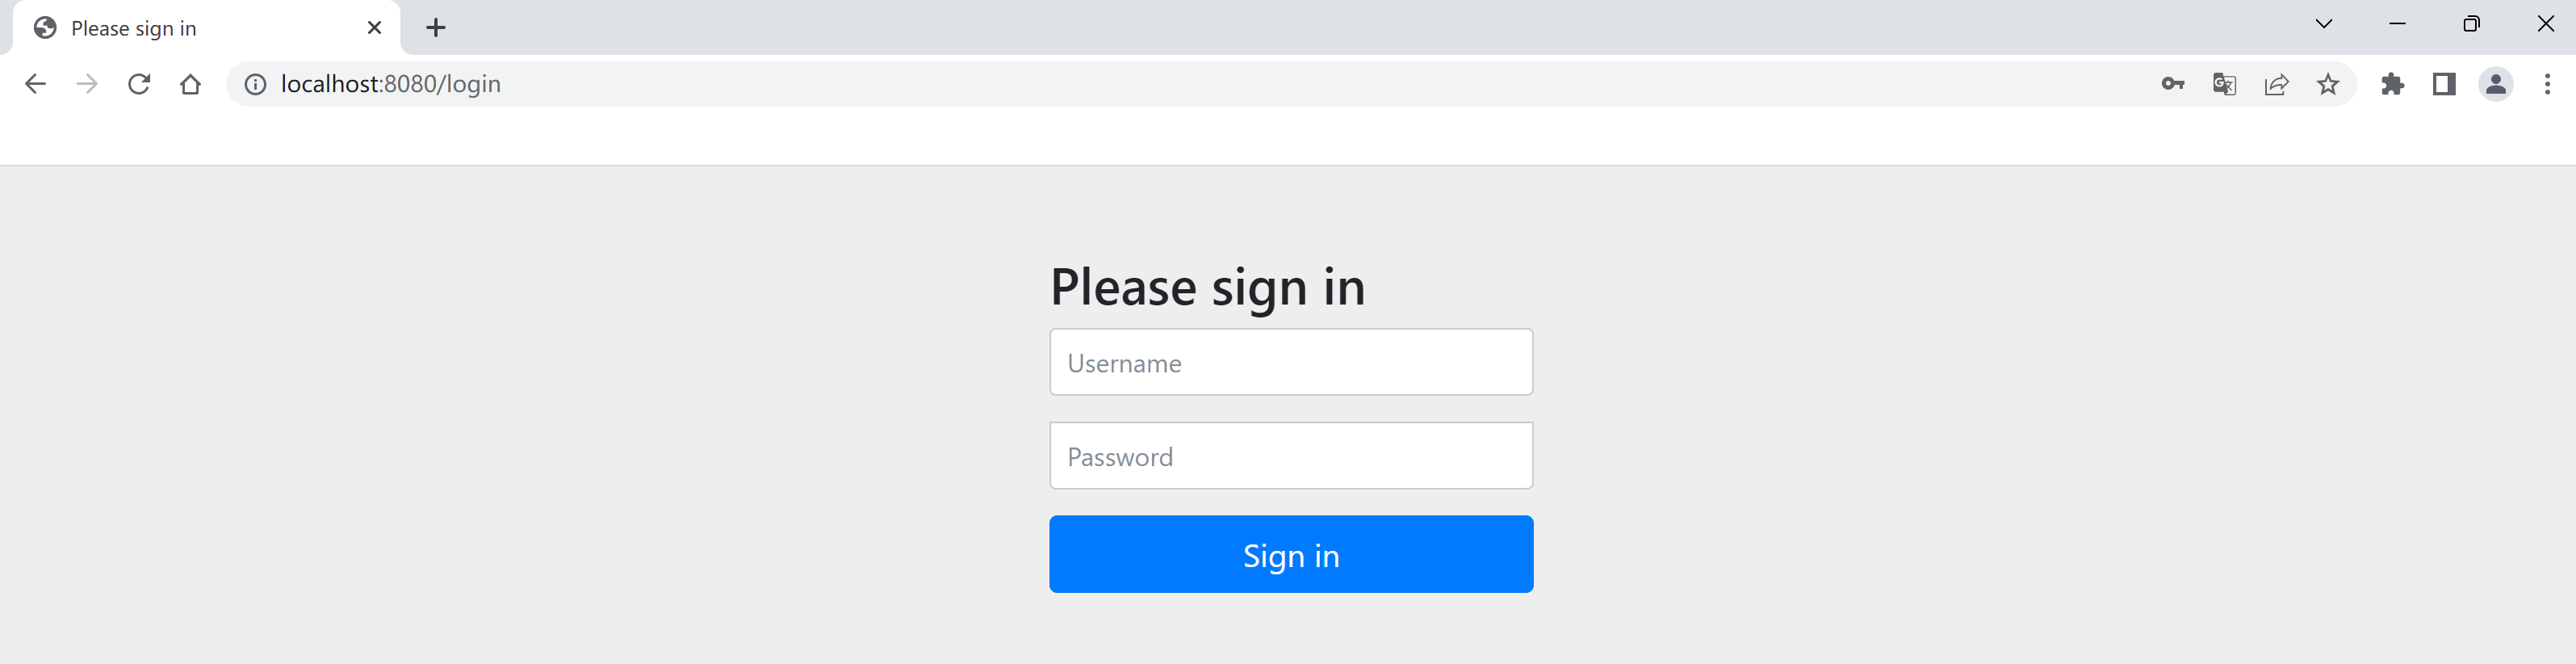
这说明,Spring Security 对你的接口进行了访问限制,必须通过登录进行认证成功后,才能正常访问原来的接口。
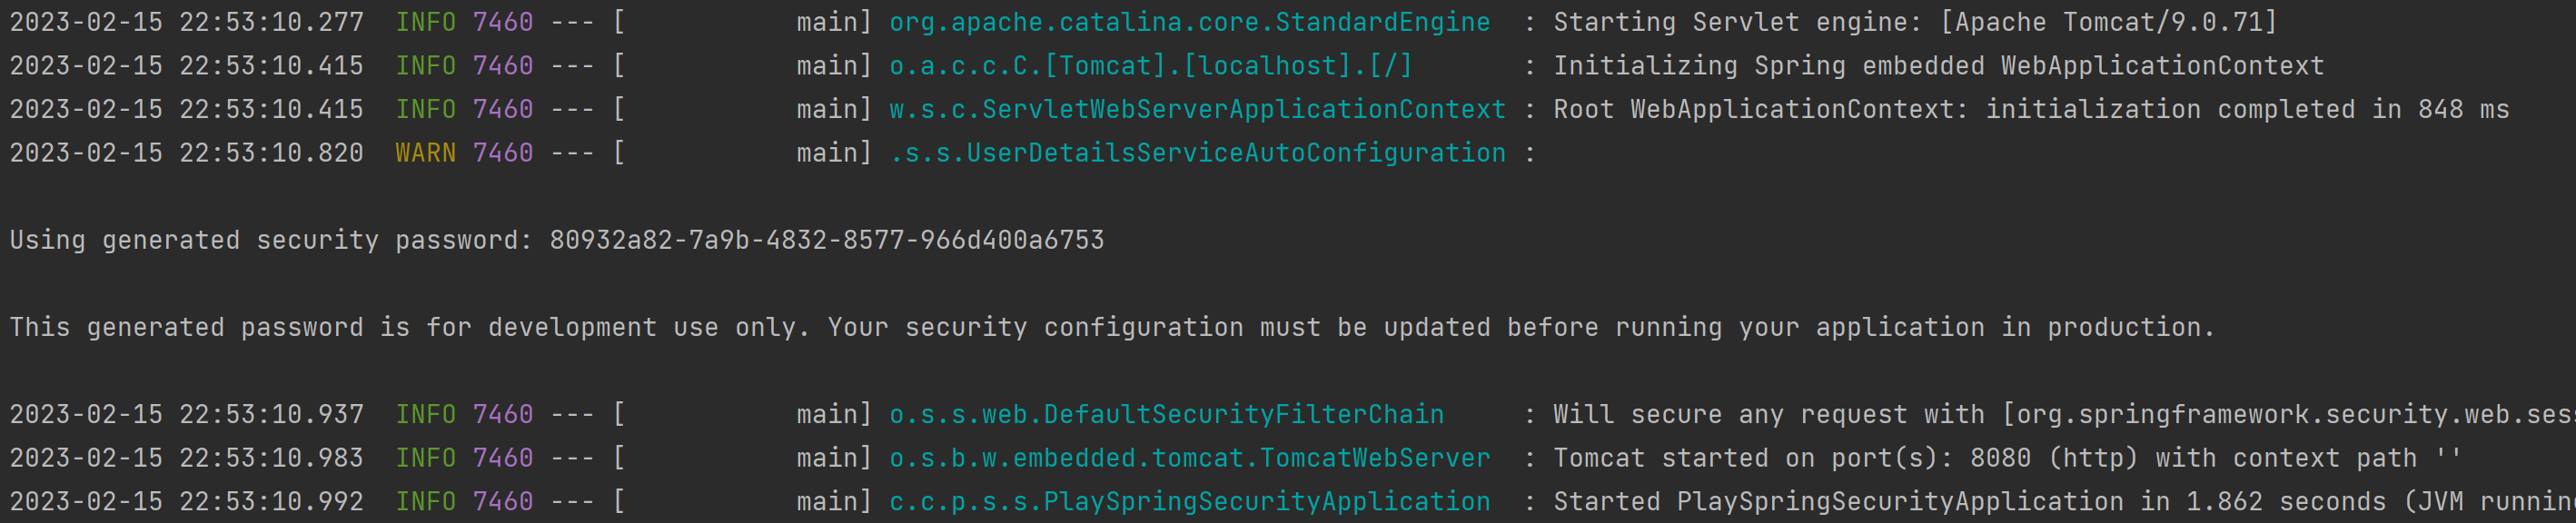
我们输出用户名和密码后,发现原来的接口终于恢复正常访问了。其中的用户名密码从哪里取呢?由于我们引入 Spring Security 后没有进行过任何其他配置,因此默认的用户名是user,而默认的密码则需要从项目启动时的控制台输出中获取到,如下:
由此,我们便相当于引入了 Spring Security 带来的认证功能。它赋予了我们一个登录界面(html),并提供相应的登录接口(相当于自带了几个 controller):
- 登录界面:
GET http://localhost:8080/login - 点击登录后触发的后台接口:
POST http://localhost:8080/login
针对上述自带的登录界面,在实际项目中我们当然会根据实际需求去自定义各种样式的界面,而不会直接用 Spring Security 自带的这个,因此在实际项目中我们其实只要用到 Spring Security 提供的这些后台接口就可以了,前端页面会进行重写。
3. Spring Security 原理初探
Spring Security 的原理其实就是一个过滤器链,其中包含了各种功能的过滤器。我们用下图来大概了解一下其中涉及的部分核心过滤器:
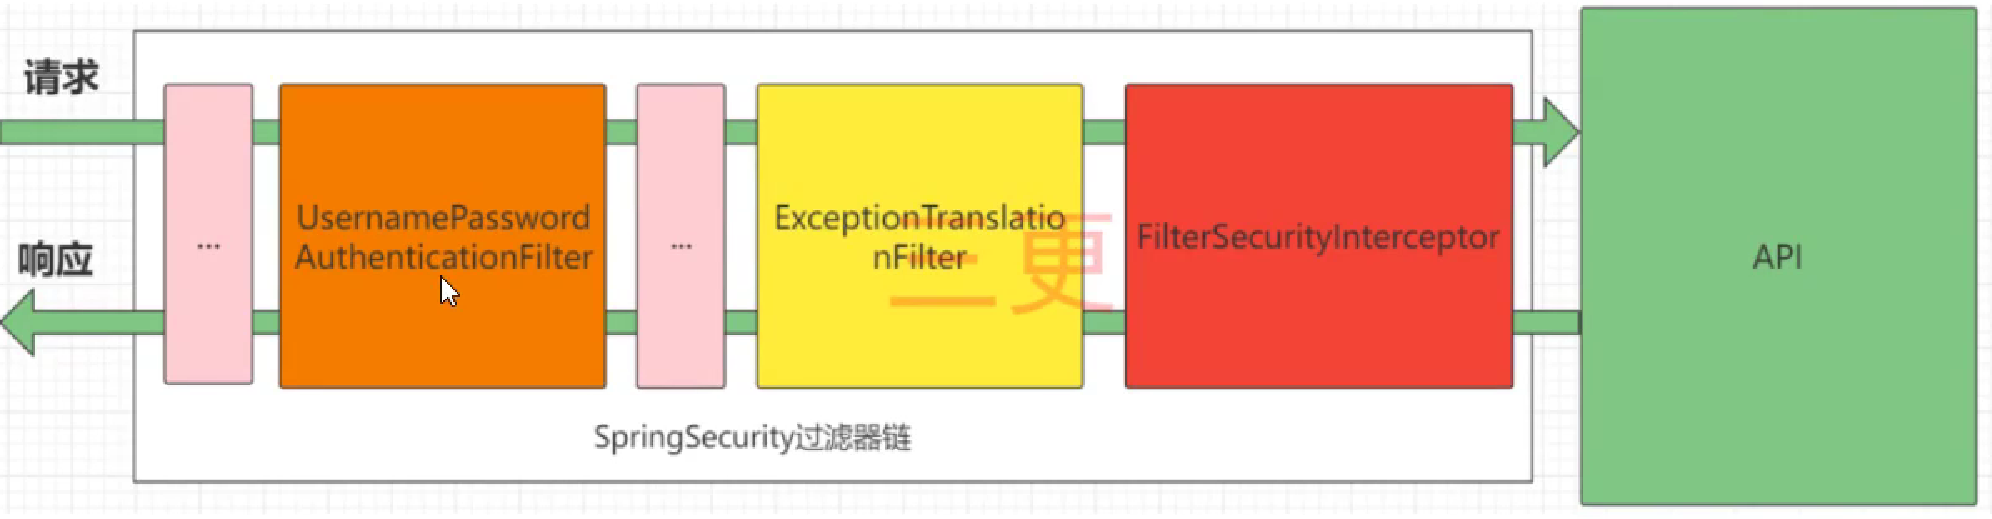
UsernamePasswordAuthenticationFilter:负责处理我们在登陆页面填写了用户名、密码后的登录请求,即负责认证;ExceptionTranslationFilter:处理认证、授权过程中抛出的异常;FilterSecurityInterceptor:负责授权的过滤器。
实际上,我们可以通过 debug 来查看系统中 Spring Security 过滤器链中有哪些过滤器以及它们的顺序,通过获取 DefaultSecurityFilterChain 这个 bean 即可:
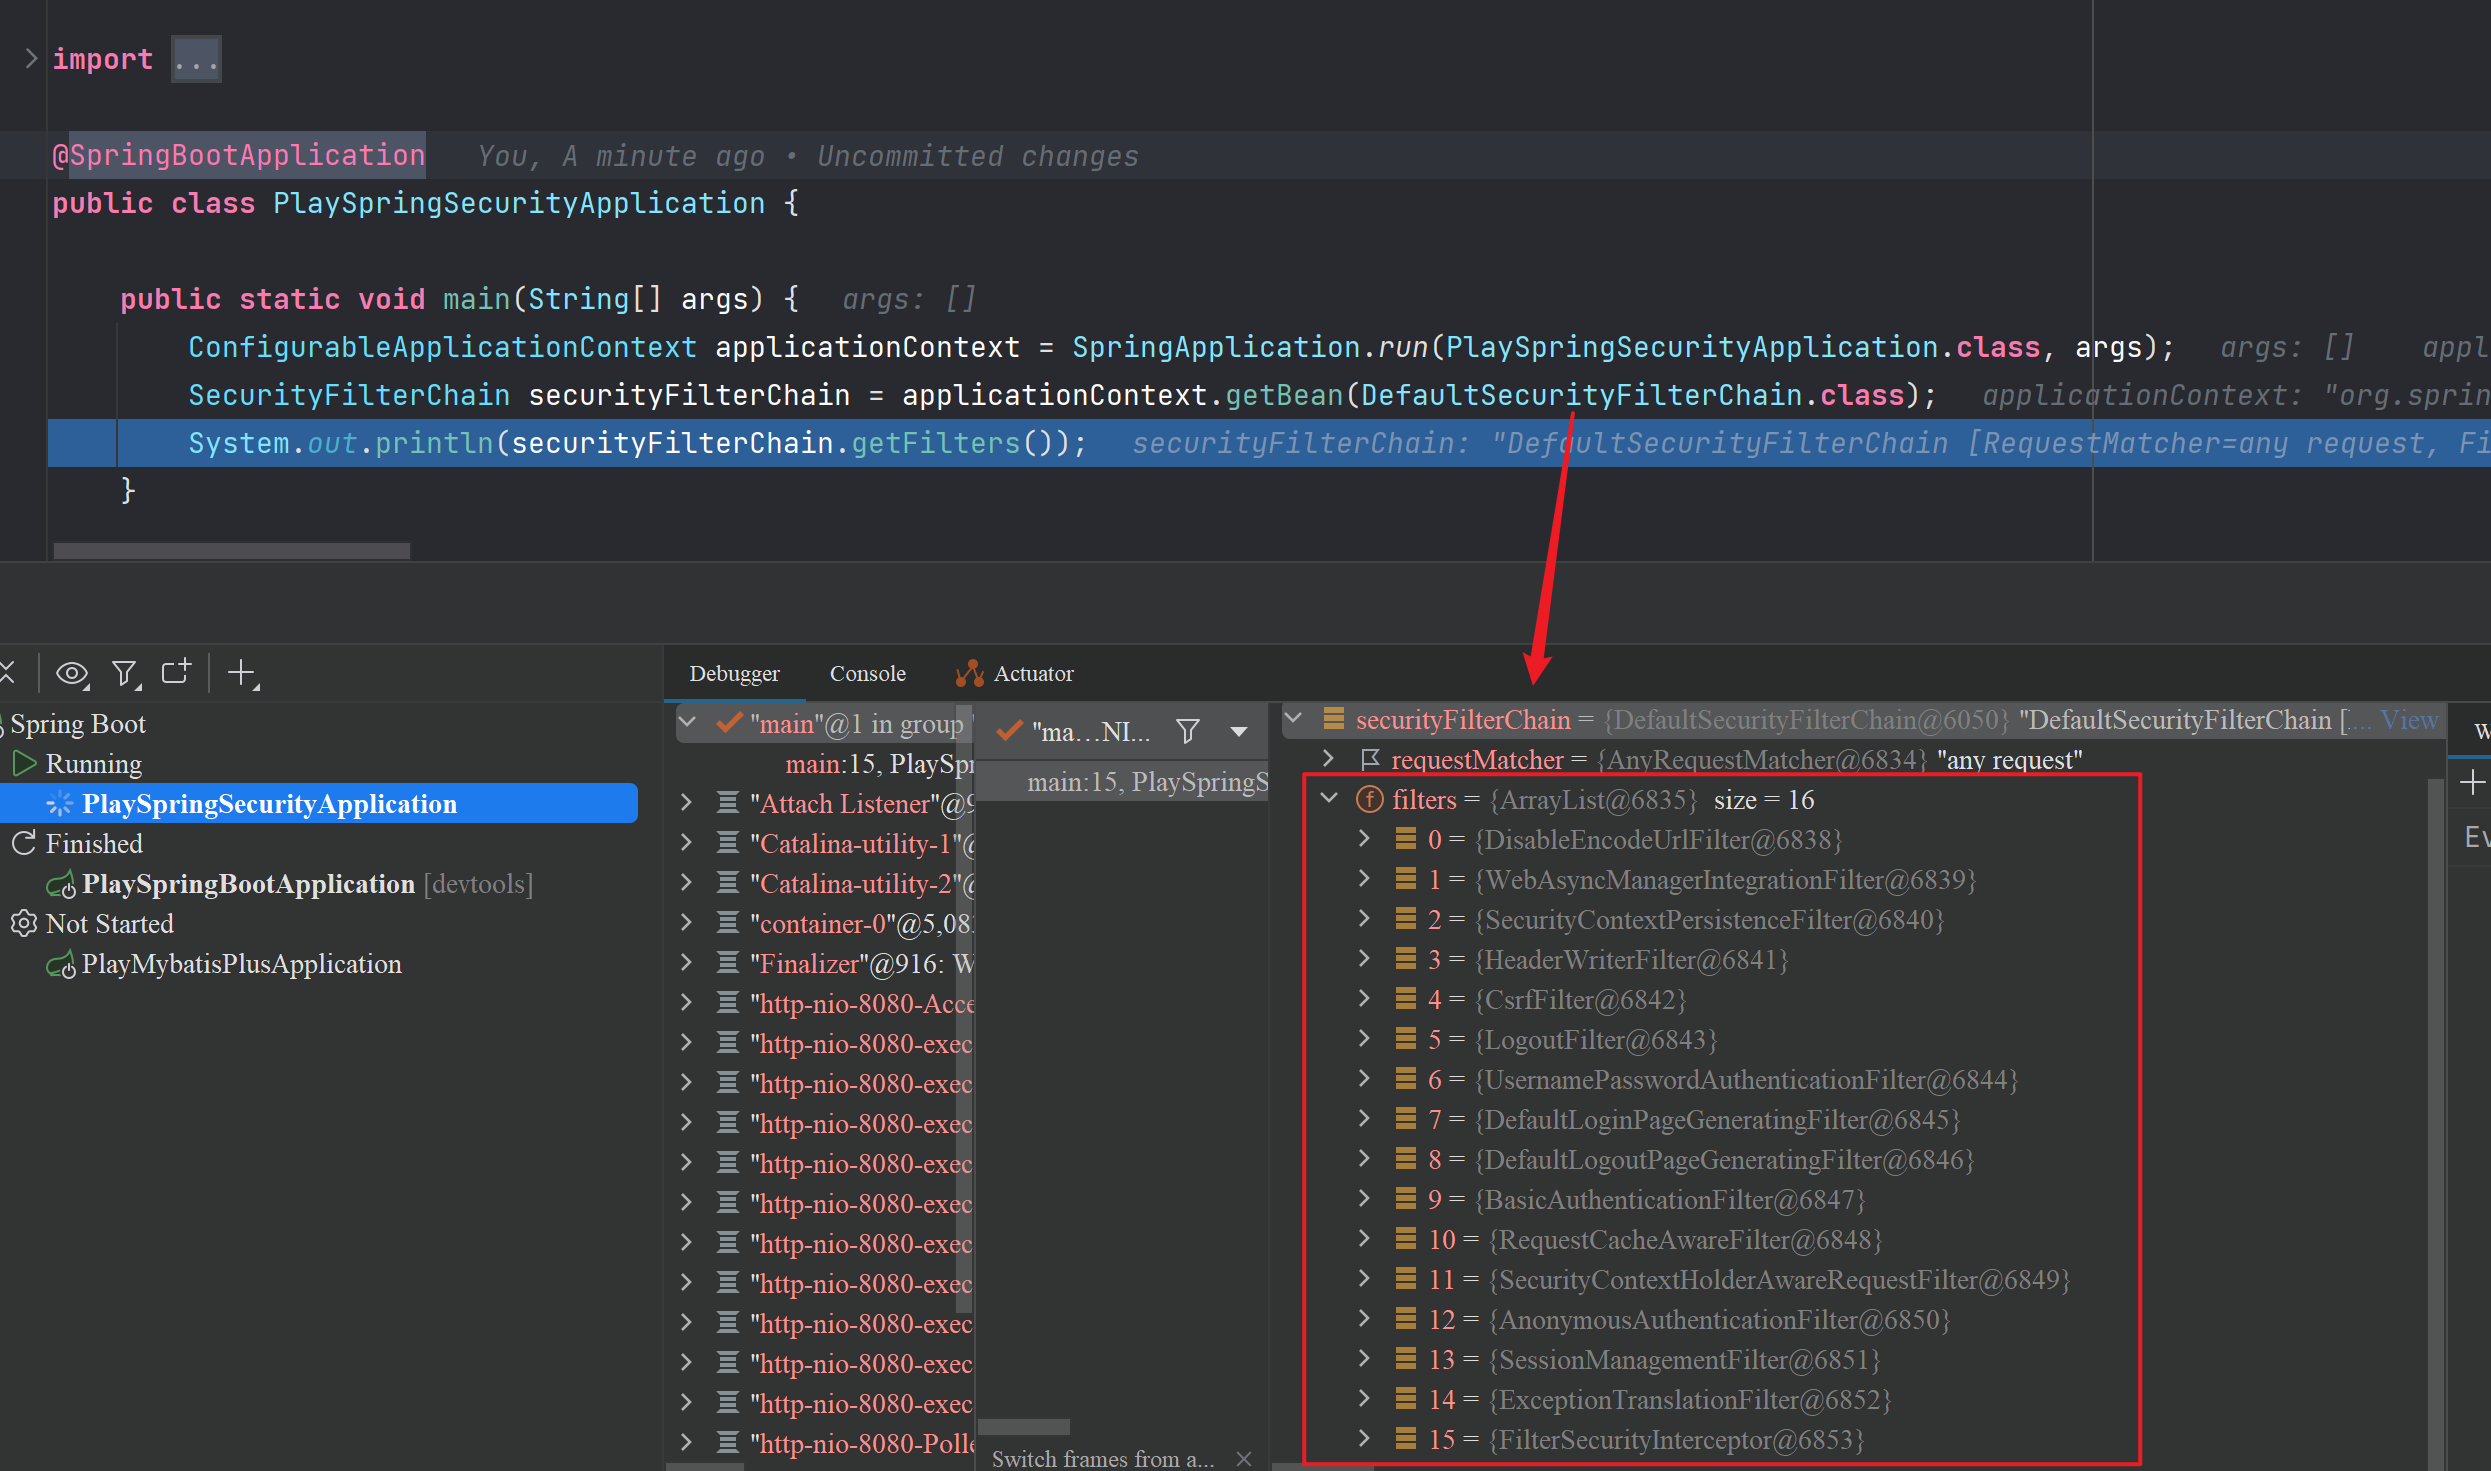
上述一系列过滤器都属于 Spring Security 中的默认实现,在实际项目中,我们需要自定义一些方案,此时只要针对过滤器链中的特定过滤器,提供一个自己的实现类以替换默认实现即可。
更新日志
506f8-于a357e-于899db-于eedbf-于c9215-于75141-于730b3-于21f41-于10f7f-于79803-于